
Last updated November 20, 2026
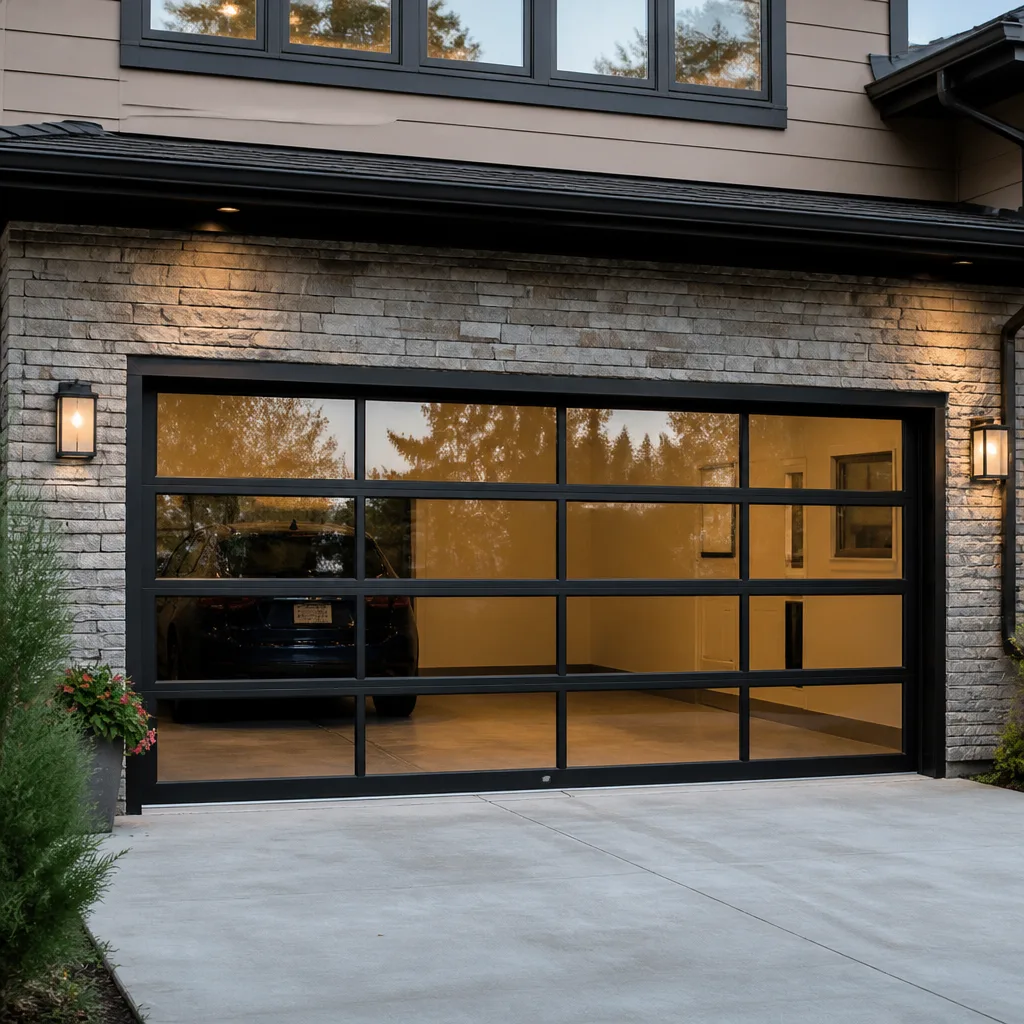 Full-view glass
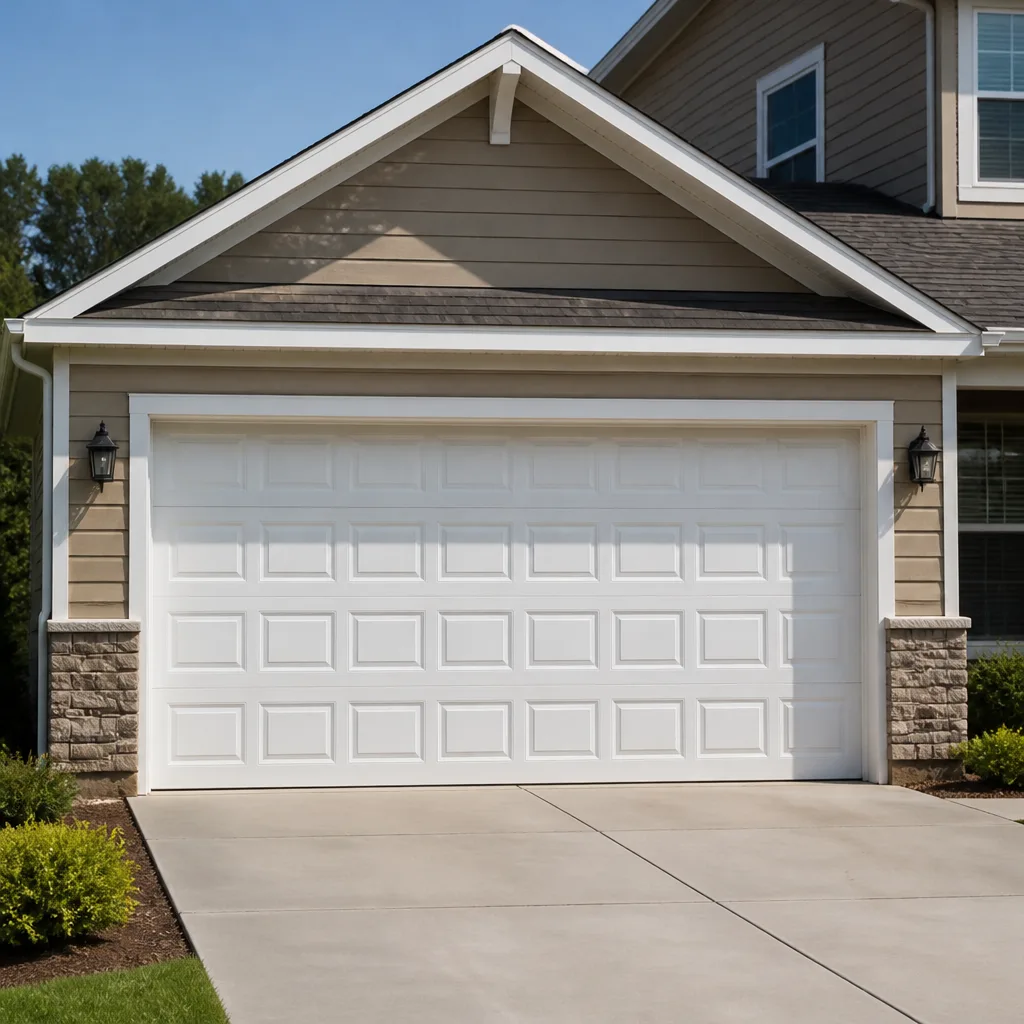 Raised-panel steel
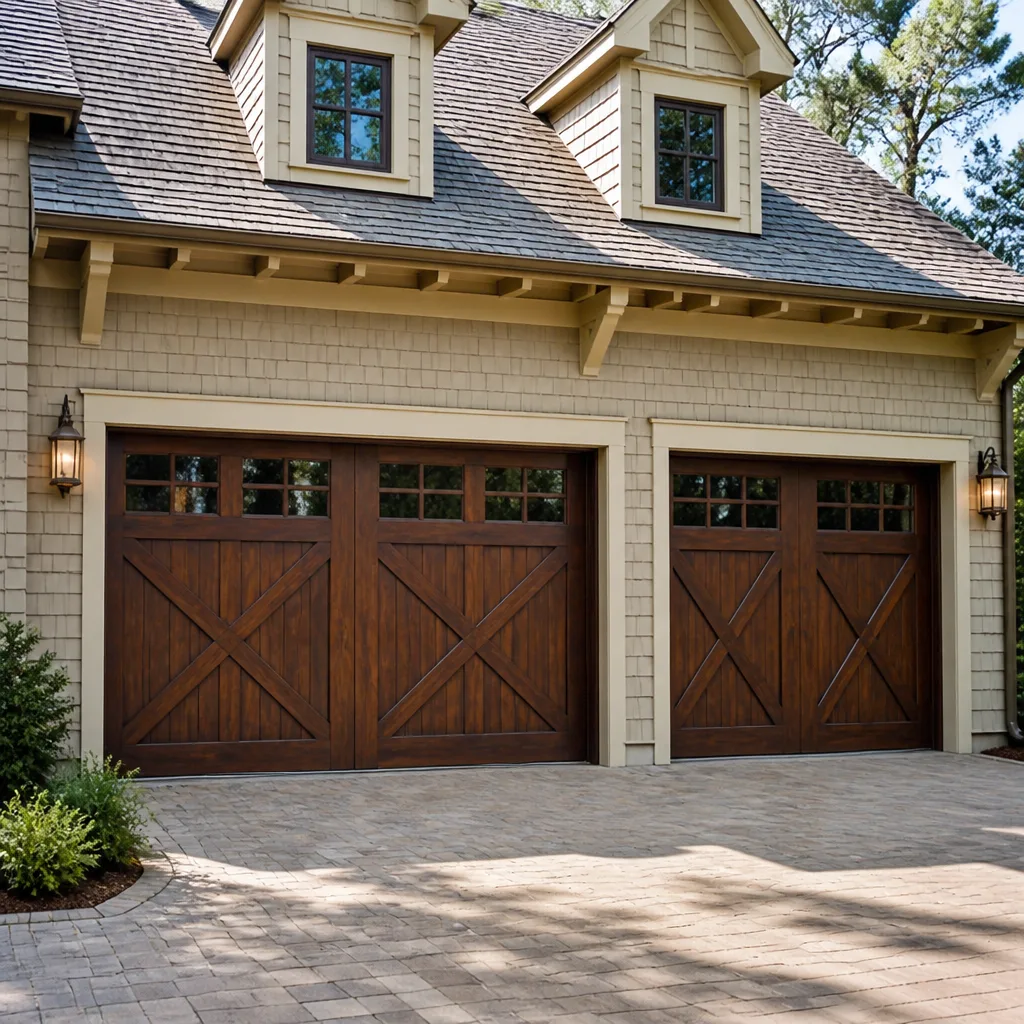 Carriage house
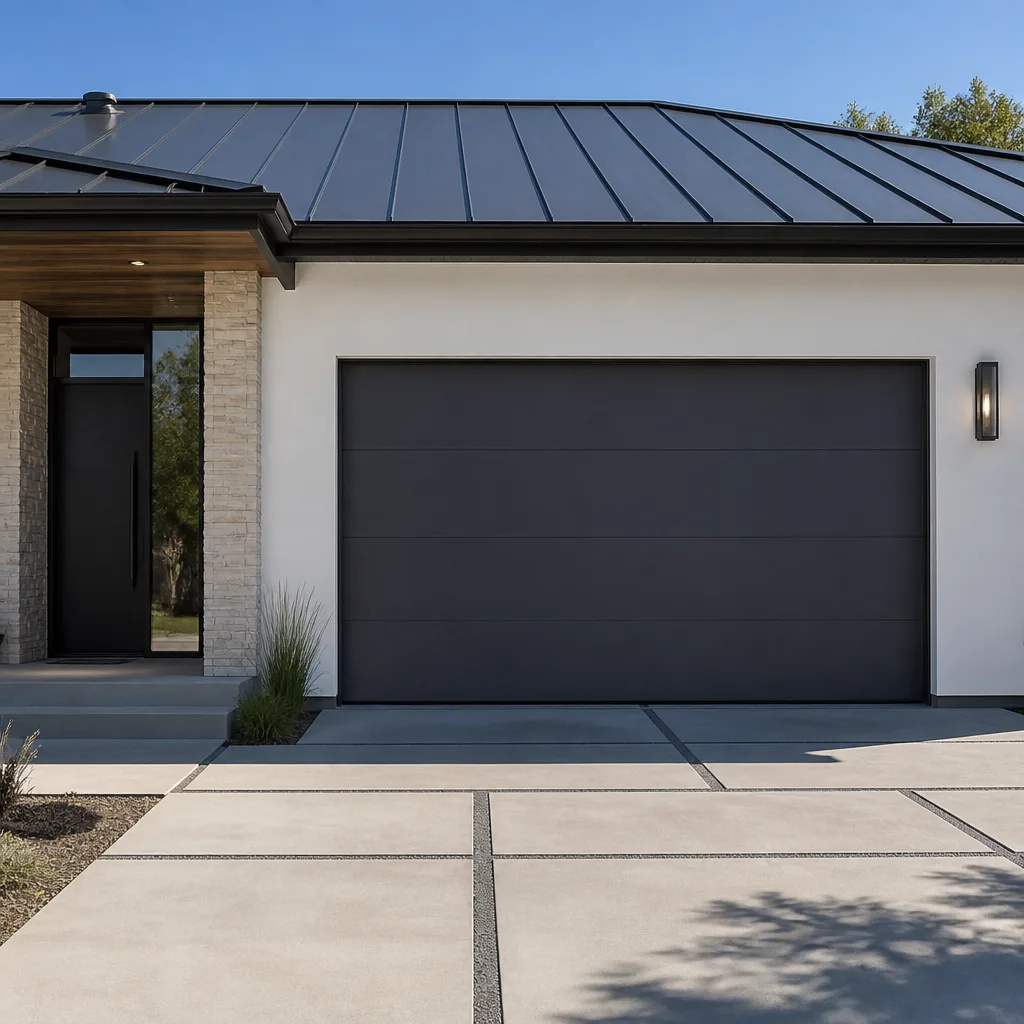 Modern flush
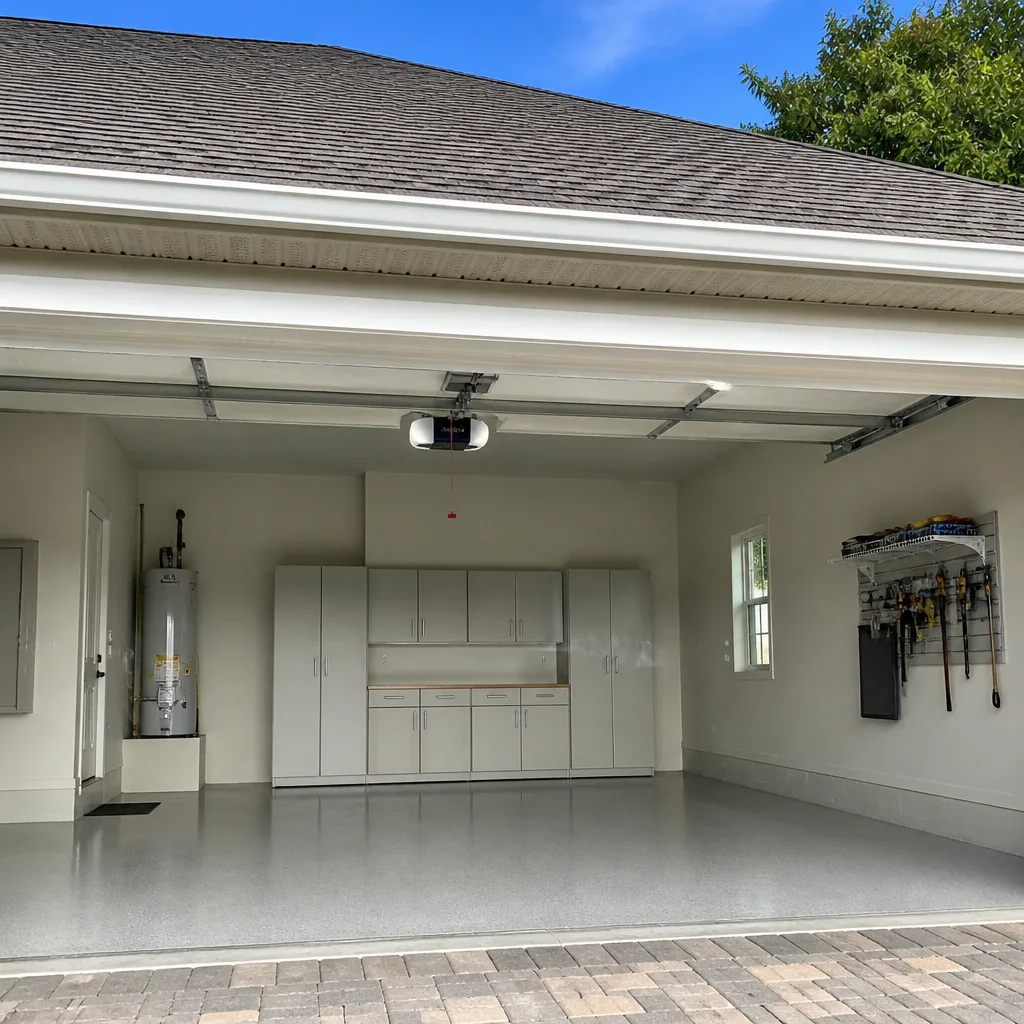 LiftMaster openers
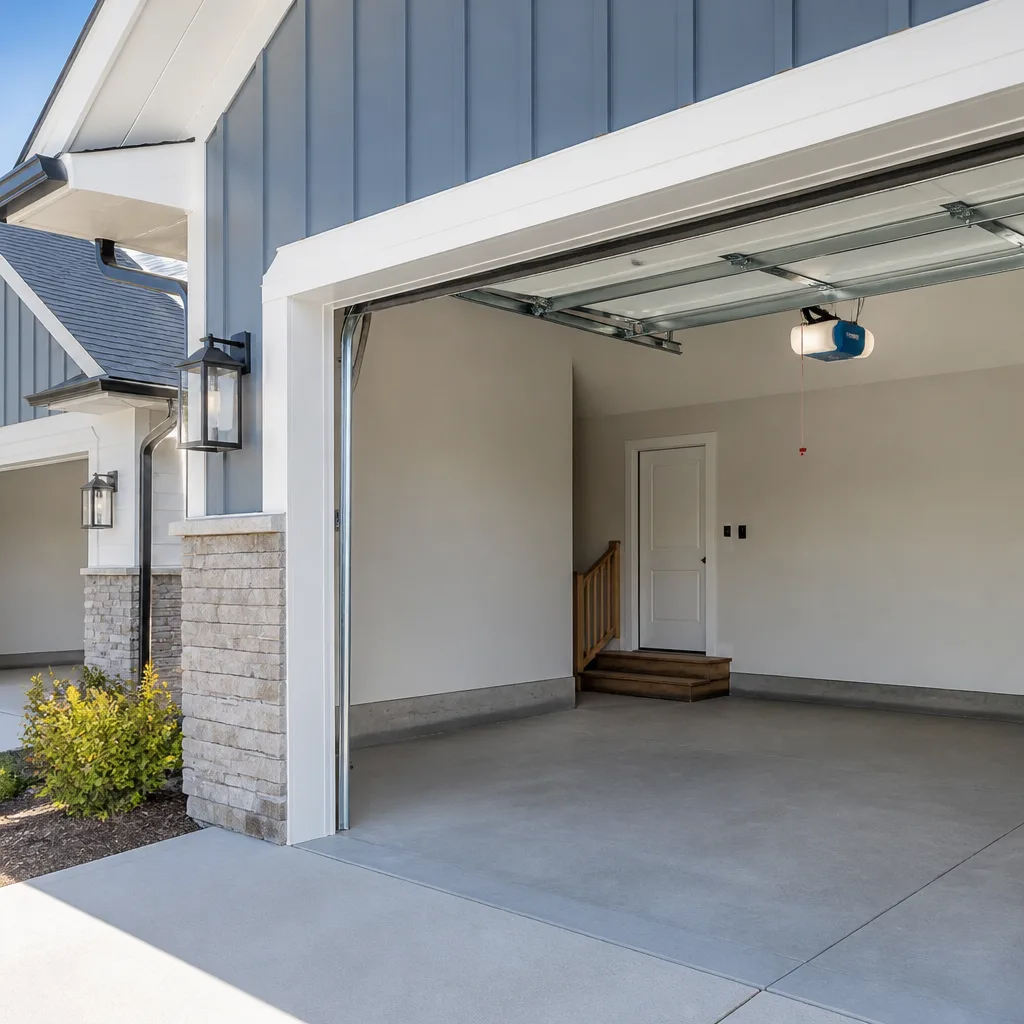 Chamberlain openers
Full 25-point door and opener safety check with every visit - springs, cables, rollers, tracks, and your LiftMaster or Chamberlain opener included
You get a price before we start. It does not change when the pro arrives.
Get your free estimateGarage Door Repair Maintenance Checklist for Channelview Homeowners
The standard “lubricate every six months” advice was written for Minnesota. In Channelview, the heat drives lubricant out of rollers faster, and the humidity does the rest. A checklist copied from a northern blog will have you greasing a door that actually needs its hinges checked, or ignoring a spring that’s telling you it’s about to fail. What follows is a maintenance routine built around the real conditions here: hot, humid summers, mild winters, and a housing stock where plenty of doors and openers are a decade or more into service. You’ll learn which tasks you can safely handle, which ones you shouldn’t touch, and how to spot wear before it turns into a Sunday-morning emergency.
Quick Answer
Channelview homeowners should inspect their garage door monthly in summer and every two to three months in cooler weather, focusing on lubricant loss from heat, spring wear, and safety-reverse function. Test the auto-reverse every month, lubricate moving metal parts with a silicone-based spray, and leave torsion springs and cable tension to a trained technician. If you hear grinding, snapping, or the door hesitates, call a specialist rather than adjusting anything yourself.
Styles & brands we work with
- Raised-panel steel
- Carriage house
- Modern flush
- Full-view glass
- LiftMaster openers
- Chamberlain openers
Table of Contents
- Why Channelview Conditions Change the Maintenance Schedule
- The Monthly Walkthrough: What to Look At and Listen For
- Lubrication in Gulf Coast Heat: What to Use and Where
- Testing Auto-Reverse and Force Calibration Correctly
- Visual Inspection for Torsion Spring Wear
- What Each Sound Tells You About a Failing Component
- DIY-Safe Tasks vs. Tasks That Look Simple but Aren’t
- Brand-Specific Notes for Openers and Doors
Why Channelview Conditions Change the Maintenance Schedule
Garage door components don’t age on a calendar. They age on exposure. A torsion spring in a climate with steady, moderate temperatures and low humidity can hold its tension for years beyond what a manufacturer’s chart suggests. The same spring in Channelview, where summer heat pushes a closed garage well past the outdoor temperature and humidity hangs near saturation for months, lives a different life. The metal expands and contracts through bigger swings. Lubricant breaks down and migrates away from the parts that need it. Steel hardware picks up surface corrosion faster, especially on doors facing the afternoon sun.
That doesn’t mean every door in Channelview is on the verge of failing. It means the intervals in a generic checklist are wrong for this area. Here’s how we think about the adjustments:
- Summer inspection moves to monthly. From late spring through early fall, the heat cycling is hardest on lubricant and on the opener’s motor. Monthly visual checks catch problems while they’re still cheap to fix.
- Cooler months stretch to every two to three months. Channelview winters are mild, so there’s no freeze-thaw punishment and no ice to contend with. The off-season is genuinely easier on garage doors here.
- Installed age matters more than anything. A door that’s been up for a decade or more in this climate is closer to a spring replacement than a newer one, even if the spring hasn’t failed yet.
- Sun exposure varies block to block. A west-facing door on a home near the river bottoms takes more heat than one shaded by a carport or mature trees. If your door sits in direct afternoon sun, err toward the shorter intervals.
None of this is exotic. It’s just matching the schedule to the place. A homeowner in Channelview who runs the routine below will catch the vast majority of garage door problems before they turn into a call. And when something does need a professional – a spring, a cable, a stubborn opener – we’re here. Channelview Garage Door Repair Pros works on garage doors only, so a technician arriving at your door isn’t moonlighting between plumbing and fence repair; this is the trade. To reach us, call (855) 658-4106. We answer 24/7, with fast dispatch from 7am to 7pm.
The Monthly Walkthrough: What to Look At and Listen For
Start with the door closed and the opener disengaged. Most openers have a release cord (usually red) that lets you operate the door manually. Pull it once so you’re working against the door and its springs, not the motor. Then work through this sequence:
- Look at the door panels. Check for dents, warping, or gaps at the hinges. In Channelview’s humidity, wood-framed doors and any wood trim around the opening can swell; look for paint peeling and soft spots where moisture collects.
- Check the hinges and rollers. Rollers should turn freely in their hinges. If a roller drags, wobbles, or has a flat spot, note it. Hinges should be tight and free of rust.
- Test the balance. Lift the door by hand to about waist height and let it go. A balanced door stays put. One that crashes down or drifts up has a spring or cable problem, and that’s a stop-and-call moment.
- Inspect the track. Run a hand along both vertical and horizontal tracks. You’re feeling for dents, bends, and debris. Don’t try to straighten a bent track yourself; a twisted track misaligns the door.
- Check the weather seal. The rubber gasket along the bottom of the door and the trim seals along the sides keep out rain, insects, and humidity. In Channelview, a cracked bottom seal lets water in under the door during heavy rain, and the wood transition underneath takes the hit.
- Look at the spring above the door. Note any gaps, rust, or uneven coils. We’ll come back to this in a dedicated section.
- Re-engage the opener and listen. Cycle the door once from the wall button. Ears catch what eyes miss.
Total time, once you know the sequence: about five minutes. This is the routine that separates a homeowner who catches a worn roller early from one who calls because the door won’t open. For a broader look at what repair work involves in Channelview, see our guide to garage door repair.
Lubrication in Gulf Coast Heat: What to Use and Where
Lubrication is where the generic checklist fails hardest in Channelview. The advice to spray a little WD-40 on every moving part once a year was probably decent advice in a dry climate. Here, the heat thins light oils and pushes them off the surface within weeks, and the humidity encourages rust on anything that’s been sitting bare. The result: a door that screams on its rollers after a few months, even though the homeowner “just lubricated it.”
Here’s what works in our experience:
- Use a silicone-based lubricant for most moving parts. Silicone doesn’t attract grit the way grease does, and it holds up better to heat than light oils.
- White lithium grease for hinges and metal-to-metal contact points. Applied sparingly. A little goes a long way, and excess grease collects dust and dirt, which is worse than no grease.
- Never lubricate the tracks. This is the single most common mistake. The tracks are meant to stay clean and dry. Lubricant in a track makes the rollers slide instead of roll, which wears them out faster and can throw the door off alignment.
- Never lubricate a torsion spring. Contrary to popular advice, a spring should be kept clean and dry. Oil on a spring can attract grit that gets into the coils and accelerates wear.
Apply lubricant to the hinges (pivot points), the hinges where they meet the rollers, the roller stems where they enter the hinge, and any metal pivot arms on the opener’s arm. Work the door up and down a few times to distribute it. Wipe off the excess. That’s it.
In Channelview, plan on this ritual at the start of summer and again mid-season, because 90-plus-degree days thin out even silicone. If you notice the door getting noisy again before you’re due, add a light spray. It’s cheap insurance against roller wear. When the noise keeps coming back despite fresh lubrication, it’s worth having a specialist take a look – call (855) 658-4106 or read more about our garage door opener repair service.
Testing Auto-Reverse and Force Calibration Correctly
Every garage door opener manufactured for residential use in the U.S. since 1993 has two required safety features: a photoelectric eye system near the floor, and a force-sensing reverse mechanism. Most homeowners know about the eyes. Fewer know how to correctly test the force reverse, and fewer still test it as often as they should. This is the single most important safety check on the entire system, and it takes less than two minutes.
Testing the photoelectric eyes
- Close the door fully, then open it with the wall button.
- While it’s closing, wave your foot or a broom handle through the light beam between the two eye sensors.
- The door should reverse immediately and fully reopen.
If it keeps closing, the eyes aren’t working, and that’s a call-right-now situation. Don’t use the door until a technician has checked it. Sometimes it’s a dirty lens or misalignment; sometimes it’s a wiring fault or a failed opener board. Either way, this is not a wait-and-see item.
Testing the force reverse
The force-sensing feature is what tells the door to reverse if it hits something while closing. The standard test is to hold a stiff object (a 2×4 laid flat on the floor works, but a roll of paper towels is easier on the door) in the path of the door near the middle of its travel. Close the door and watch whether it reverses on contact. If the door pushes hard enough to crush or flatten the object before reversing, the force setting is too high, and it needs adjustment. This function must respond correctly every time.
Force calibration
Most openers have a force adjustment screw or a digital setting. Genie, LiftMaster, and Chamberlain units all handle this differently, and older Craftsman openers rely on physical adjustment screws on the motor housing. Adjusting force is a calibration process, not a wrench-turning exercise; turning the screw too far in either direction makes the door either fail to reverse or refuse to close. If you’re not sure what you’re adjusting, or your door doesn’t behave the way the manual describes, call us. This is a code-required safety function and one of the things we check on every call.
Visual Inspection for Torsion Spring Wear
Torsion springs – the big coil mounted on a shaft above the door – do most of the heavy lifting in a modern garage door system. They’re also the part most likely to fail, and the part you should never try to adjust or replace yourself. What you can do is inspect them visually for the wear indicators that predict failure, which is a skill more homeowners should have. Below is what to look for.
- Gaps in the coil. A healthy spring has coils that sit tight against each other. A visible gap between coils means the spring is losing tension.
- Rust along the coil. Rust starts where moisture collects and weakens the wire over time. Channelview humidity makes rust more likely, especially on older springs.
- Stretched or distorted coils. If a section looks longer than the rest, the spring has stretched. That’s a stretch in the bad sense: the spring is on its way out.
- Paint peeling or bare metal. Springs are usually painted or coated to slow corrosion. Once that coating’s gone, rust accelerates.
- Visible cracks or wheel-in the wire. Any crack in a torsion spring is a call-now condition.
If you see any of these, don’t wait for the spring to break. A broken spring releases its stored energy with a sharp snap and can damage the door, the opener, or the cars parked below – and the door becomes unsafe to use until it’s repaired. The good news is that a spring showing wear can be replaced on a scheduled basis rather than in an emergency. For the deeper view of what that service involves, see our page on garage door spring repair.
Extension springs (older doors)
Some older doors in Channelview run on extension springs mounted along the horizontal tracks. Those can be inspected for stretched coils, hook wear at either end, and missing safety cables. If a horizontal spring doesn’t have a safety cable running through the center of it, that’s a serious safety gap and worth fixing.
What Each Sound Tells You About a Failing Component
Ears are underrated as diagnostic tools. Most failing components give plenty of warning if you know what you’re hearing. Here’s the map we use:
- High-pitched squeal, especially in summer: dry rollers or hinges. Usually solved by lubrication. If it’s still squealing after two lubrication sessions, a roller may be seized.
- Grinding or scraping, especially as the door nears the top or bottom: a worn roller or a misaligned track. Stop using the door if the sound is accompanied by visible wobble.
- Loud bang from the garage when no one’s around: a torsion spring breaking. The door will feel very heavy when lifted manually. Don’t try to open it.
- Rhythmic thumping as the door moves: a bent track, a failed roller bearing, or debris in the track. Check the track first for visible dents or a piece of gravel.
- Rattling or clunking from the opener housing: often a worn gear, a loose chain, or a failing bearing inside the opener. Which brand you have determines how it’s checked; LiftMaster and Chamberlain units and consumer brands like Genie and Craftsman are built differently inside.
- Buzzing or humming with no movement: a failed capacitor, a stripped gear, or a dead motor. Don’t keep pressing the button; the opener isn’t going to recover on its own.
Note the sound, note when it happens (opening, closing, at a specific height), and note the conditions (hot day, cold morning, first use of the day). Those three pieces of information save a technician a lot of diagnostic time and usually lead to a more accurate fix on the first visit.
DIY-Safe Tasks vs. Tasks That Look Simple but Aren’t
The single most important thing this checklist can do is keep you out of the emergency room. Some garage door maintenance is genuinely safe for a homeowner with basic tools. Some of it looks safe and isn’t. The line isn’t always obvious, so here’s how we draw it.
DIY-safe
- Lubricating hinges, rollers, and pivot arms with silicone-based spray or white lithium grease
- Cleaning the tracks with a damp cloth
- Testing the photoelectric eyes and the force reverse
- Inspecting hinges, rollers, panels, seals, and springs visually without touching them
- Testing the door’s balance by lifting it by hand with the opener disengaged
- Replacing a weather seal or a bottom rubber gasket (a common repair in Channelview after a storm or on doors where the seal has rotted)
- Wiping down opener housings, tightening loose bolts on the door’s hinges and adjustment brackets with a wrench and no torque
Appears simple but is genuinely dangerous
- Torsion spring adjustment or replacement. Torsion springs store enormous energy. A wrong move can release it without warning. This is the single most injury-prone garage door task, and it’s the one every technician treats with the most caution.
- Cable tension or replacement. Cables are under the same tension as the springs. A snapping cable can cause serious injury and can whip unexpectedly.
- Track straightening. A bent track often has a spring problem behind it. Straightening the track without fixing the cause just pushes the door off alignment again.
- Roller replacement on a door under tension. Some roller swaps are safe; others aren’t. If you’re not sure whether the door is under spring tension at that height, ask.
- Opener force and travel-limit adjustment. These are calibration settings tied to a code-required safety function.
We’re not discouraging homeowners from knowing their doors. The opposite. The more you understand, the better you’ll spot problems early, and the more useful your descriptions are when you call. But there’s a real line between maintenance you should handle and mechanical work that should go to a trained garage door technician. When in doubt, call us at (855) 658-4106 and describe the issue. We answer 24/7.
Brand-Specific Notes for Openers and Doors
One more reason a generic checklist fails: different brands and vintages behave differently. A maintenance routine that works for a modern LiftMaster smart opener doesn’t map cleanly onto an older Craftsman unit. Your door’s construction makes a difference too.
Openers
- LiftMaster and Chamberlain (both owned by the same parent, with different product lines) are professional-grade and widely installed. Newer models have MyQ smart-home integration and a battery backup option that some homeowners don’t even know they have. If your opener has a backup battery, test it periodically; a dead battery only matters the day the power is out.
- Craftsman openers sold through Sears are everywhere, and many are 20-plus years old. Parts availability varies by model year, and force adjustment is usually a physical screw on the motor housing rather than a digital setting. Older belt-drive Craftsman units are known for running quietly but failing at the travel-limit switch.
- Genie openers are common on doors installed by production builders. They’re reliable and typically straightforward to work on, but screw-drive models have specific lubrication needs the manual covers, and they shouldn’t be serviced with generic garage door sprays.
- Raynor doors and openers show up on a fair number of installations here, especially in newer developments. Their opener line runs on the same fundamentals as the others but with their own wireless remotes and safety-eye wiring.
Doors
Clopay, Amarr, Wayne Dalton, and Raynor are the most common door brands among the homes we visit in Channelview. Steel doors from all of them hold up well here; what varies is the hardware inside and the way the panels, hinges, and spring system are engineered. A repair on a Wayne Dalton door isn’t automatically the same repair as one on an Amarr door, even when the symptom looks identical. That’s why we ask what brand you have before we arrive; it means the technician comes with the right parts and the right approach. For more on our overall service, including the Channelview-area work we do, see the Channelview Garage Door Repair Pros homepage.
Our technicians have up to 8 years of experience working across different brands and opener types, and knowing which is on your door saves time and gets you back up and running faster. Whether you have a LiftMaster smart opener or a legacy Craftsman unit, the diagnostic approach changes but the goal doesn’t.
Common Mistakes to Avoid
- Lubricating the tracks. The most common mistake we see. Tracks should be clean and dry; lubricant makes rollers slide instead of roll and wears them out prematurely.
- Greasing a torsion spring. Oil and grease attract grit, which accelerates spring wear. Springs are best kept clean and dry.
- Skipping the force reverse test. Testing the photoelectric eyes without testing the force reverse leaves half the safety system unchecked. It should reverse on contact, and if it doesn’t, that needs fixing before the door is used again.
- Ignoring a small squeak through the summer. In Channelview heat, a light squeal that’s ignored for a month becomes a seized roller or a worn hinge. Fix it in its early stage.
- DIY spring replacement after watching a video. The most dangerous mistake on this list. The stored energy in a torsion spring doesn’t forgive errors, and no video can replace the training.
- Adjusting travel limits to “help” a door that’s dragging. If the door is dragging, the door or opener is the problem; the travel limit isn’t. Adjusting it just masks the underlying symptom.
- Using WD-40 as a general-purpose lubricant. It’s a light oil that won’t last the summer in this climate. Silicone-based lubricants and white lithium grease last longer and hold onto the surfaces they’re applied to.
See the difference
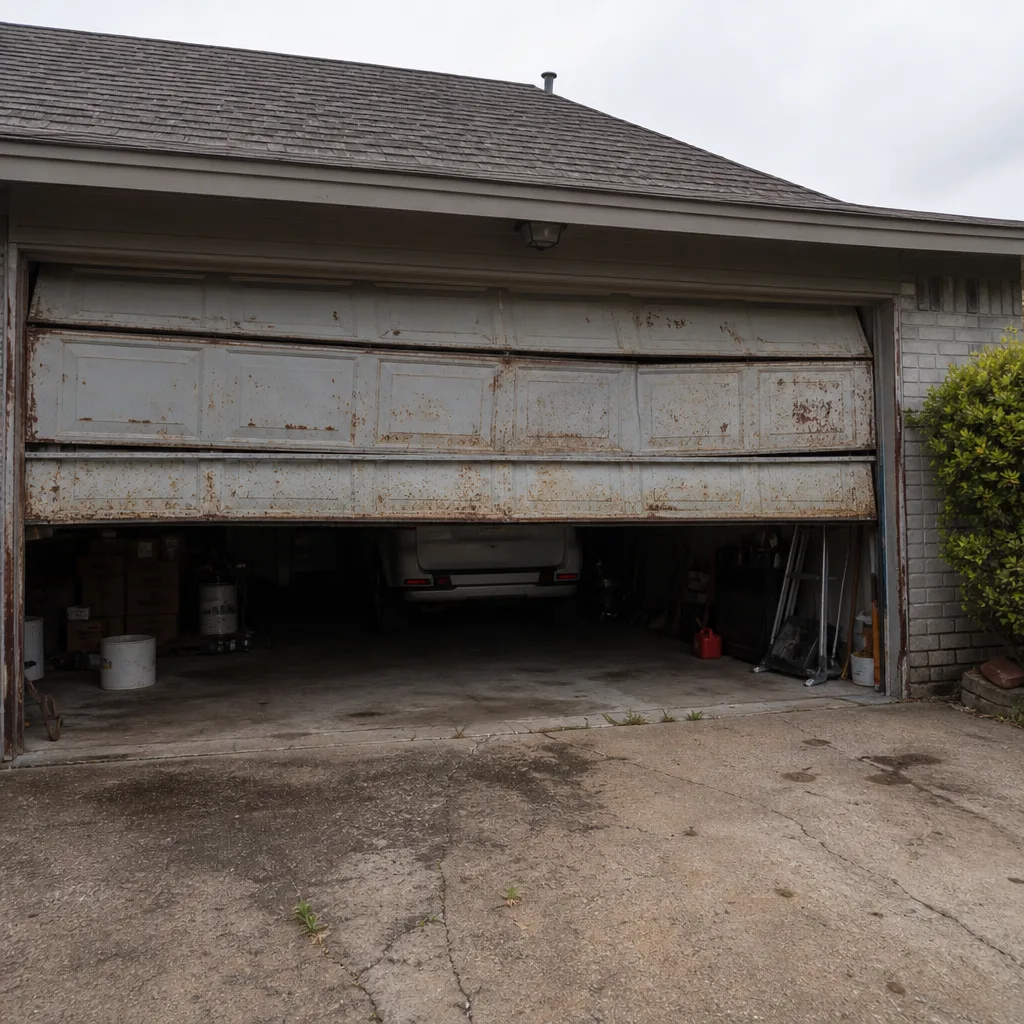 Before
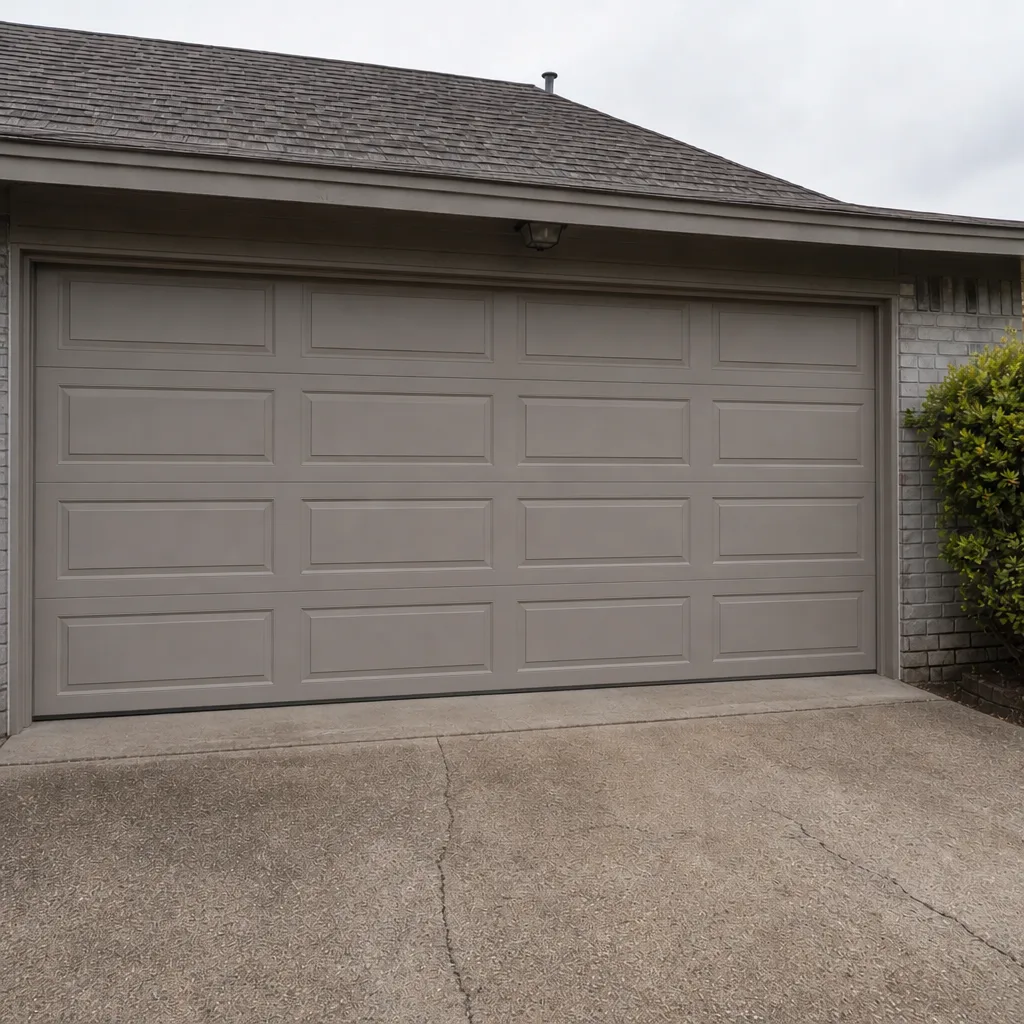 After
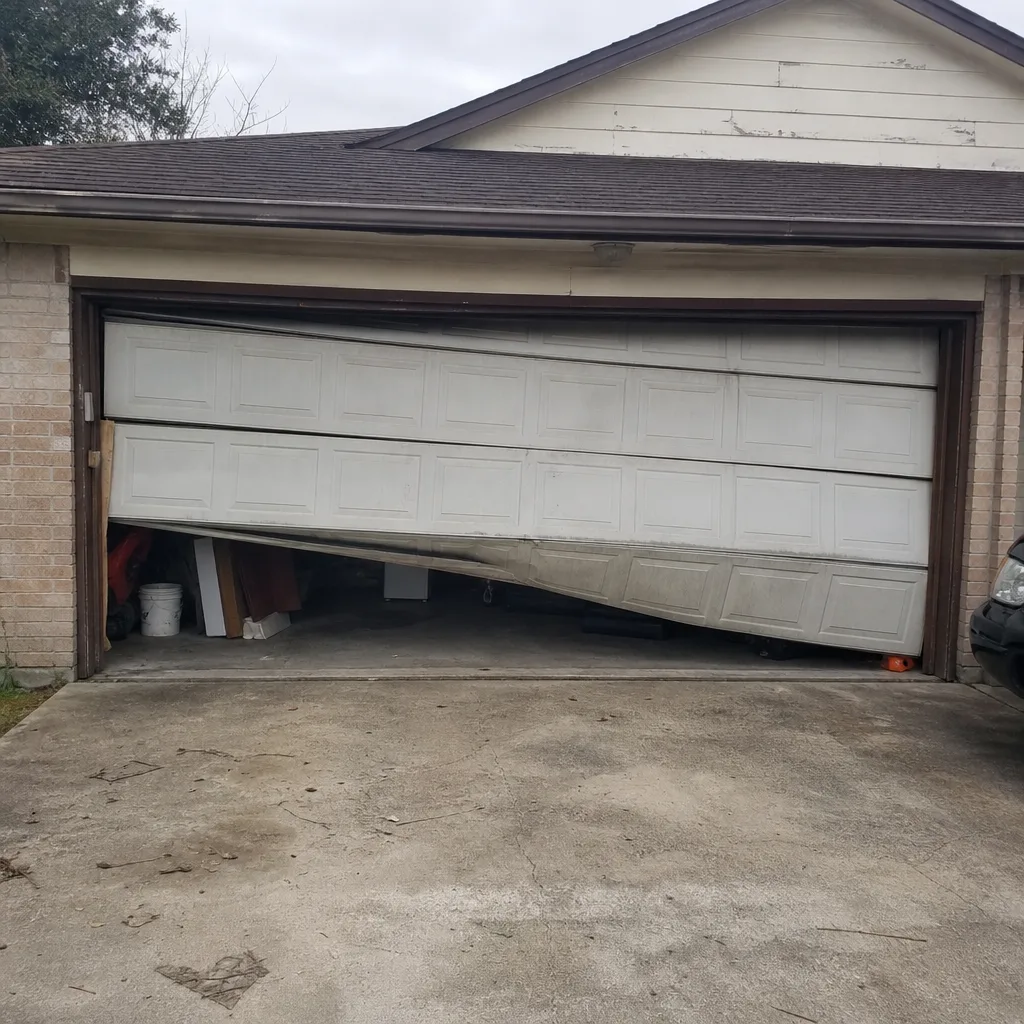 Before
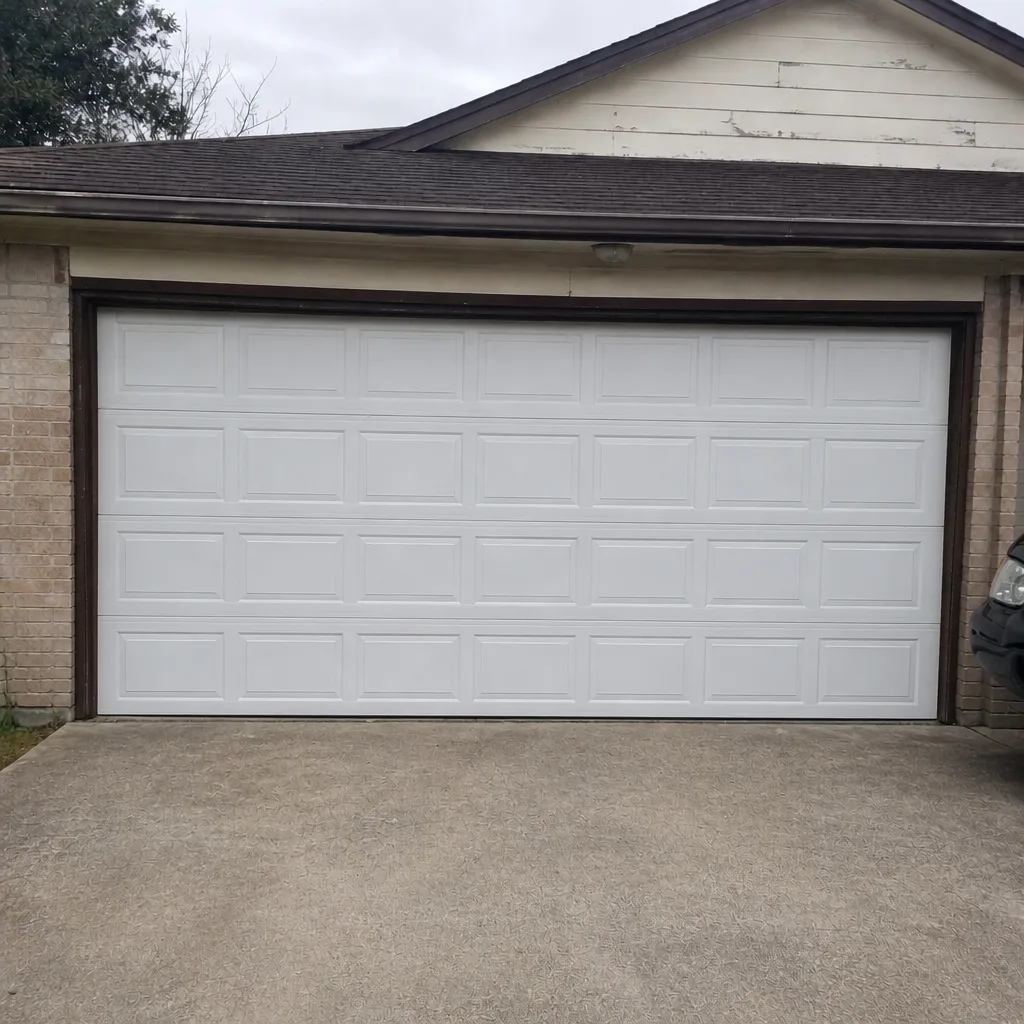 After
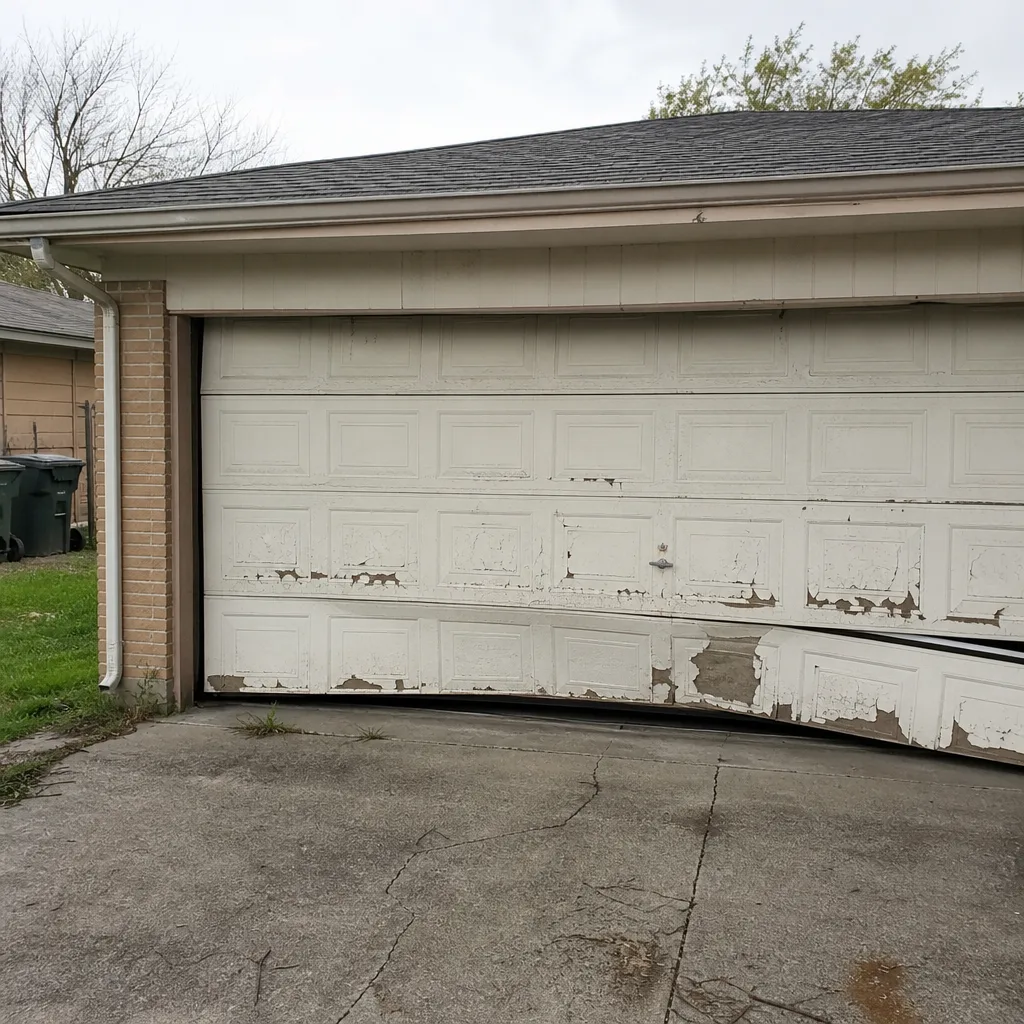 Before
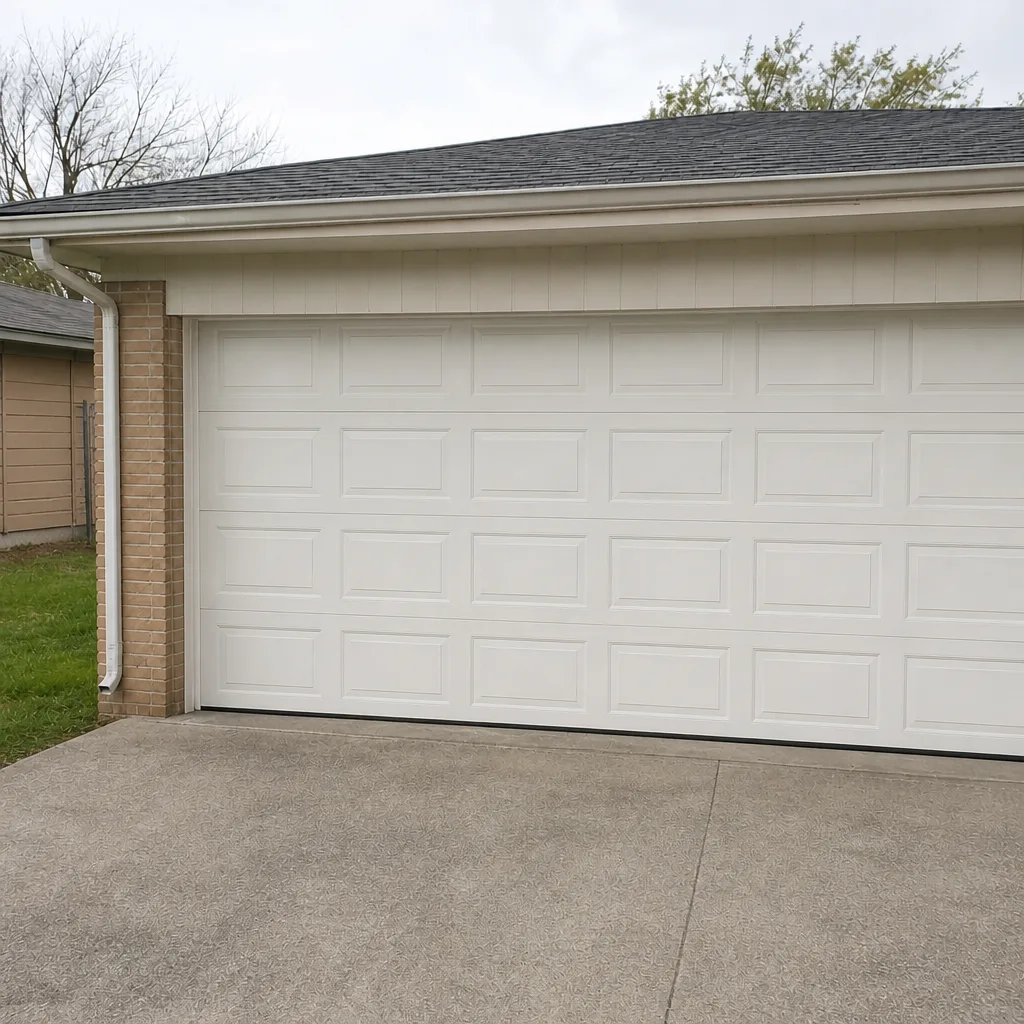 After
When to Call a Professional
Call a professional when the door won’t reverse on contact, when you see spring wear indicators, when the door feels too heavy to lift manually, or when a sound doesn’t go away after lubrication. Call when you see a cable that looks slack, frayed, or has come off its drum. Call when the door is off its track or visibly crooked. And call when your opener runs but the door doesn’t move – that’s almost always a component inside the opener, not a problem the button can fix. Falling back on a generalist is tempting on a Sunday morning, but garage doors are a specialty for a reason. Channelview Garage Door Repair Pros offers free estimates in Channelview; call (855) 658-4106. We answer 24/7, with fast dispatch from 7am to 7pm, Sunday through Friday.
Frequently Asked Questions
In Channelview, inspect your garage door monthly during the hotter months and every two to three months in cooler weather. The heat and humidity here push lubricant out of rollers faster than in dry climates, so the summer schedule matters more than the winter one. Test the auto-reverse every month regardless of season.
No, and we’d strongly advise against it. Torsion springs store enough energy to cause serious injury if something goes wrong during removal or installation. The safest approach is to have a trained technician do it; our garage door spring repair service exists for exactly this. Call (855) 658-4106 for a free estimate.
Summer heat thins lubricant and pushes it off the surfaces that need it, so rollers and hinges run dry and start to squeal. A fresh application of silicone-based lubricant usually solves it. If it doesn’t, a roller or hinge is likely worn and needs replacing.
Place an object in the door’s path near the middle of travel and close the door. It should reverse on contact without crushing the object. Also wave something through the photoelectric eyes near the floor; the door should reverse immediately. If either test fails, don’t use the door until it’s inspected.
Yes. The Gulf Coast heat and year-round humidity here shorten lubrication intervals and speed up spring corrosion. A checklist written for a cooler, drier climate will have you under-maintaining your door. The schedule in this guide is built for the conditions we actually have.
We work on LiftMaster, Chamberlain, Genie, Craftsman, Raynor, and other common residential opener brands, and on doors from Clopay, Amarr, Wayne Dalton, and Raynor. Our technicians have up to 8 years of experience across these brands, so whether your opener is a modern smart unit or an older legacy model, we can diagnose and repair it.
The Bottom Line
Garage door maintenance in Channelview isn’t the six-month routine you’ll find on most blogs. It’s a monthly habit in summer, a lighter cadence in cooler months, and a set of specific checks that matter more here than elsewhere: lubricant loss from heat, spring corrosion from humidity, and the safety-reverse function that should always work. Test what you can, listen for what’s changing, and leave torsion springs and cables to a professional. If you want help with any of it, Channelview Garage Door Repair Pros offers free estimates and works on garage doors only. Call (855) 658-4106. We answer 24/7, with fast dispatch from 7am to 7pm, Sunday through Friday.
Written by the team at Channelview Garage Door Repair Pros.